
Studying Fine art for two years at college for me to then go onto studying a BA Hons degree in Fine art, I am always finding something to draw on, whether doodling with a biro pen on my hands to painting my bedroom walls (I painted them zebra print back in the day haha.) to experimenting weird designs on my nails. I find myself painting my nails differently every other week, I either get bored with the design or the varnish just chips! Ugh.
This is a really simple and easy nail design that I always use when I want to add a bit more to my nails but not over power them!

Before painting my nails I rub Vaseline petroleum jelly on my skin just around the nails so if you paint your nails like me and it looks as though 5 year old has just painted them, then Vaseline will become your best friend! The Vaseline will stop the nail varnish from getting dry on your skin.
 |
| These are the nail varnishes I used to create this look. |
Step 1: I painted my nails with Sally Hansen Double Duty; Base and Top coat.
(I did not photograph this step.)


Step 2: Once the base coat had dried I then used Ciaté in the colours Strawberry milkshake and Party shoes. I applied two coats of each on my nails, as like the picture below.

WAIT UNTIL COMPLETELY DRY TO GO ONTO THE NEXT STEP!
I used Ciaté in the colour Snow Virgin to create the lines.


 |
| Carefully draw the X onto the middle nail. |
Step 4: I forgot to photograph step 4 but its pretty simple.
Within the X that you painted, draw a V leaving a gap between the X to show the glitter underneath.
It looks confusing but this should be what the end result looks like!
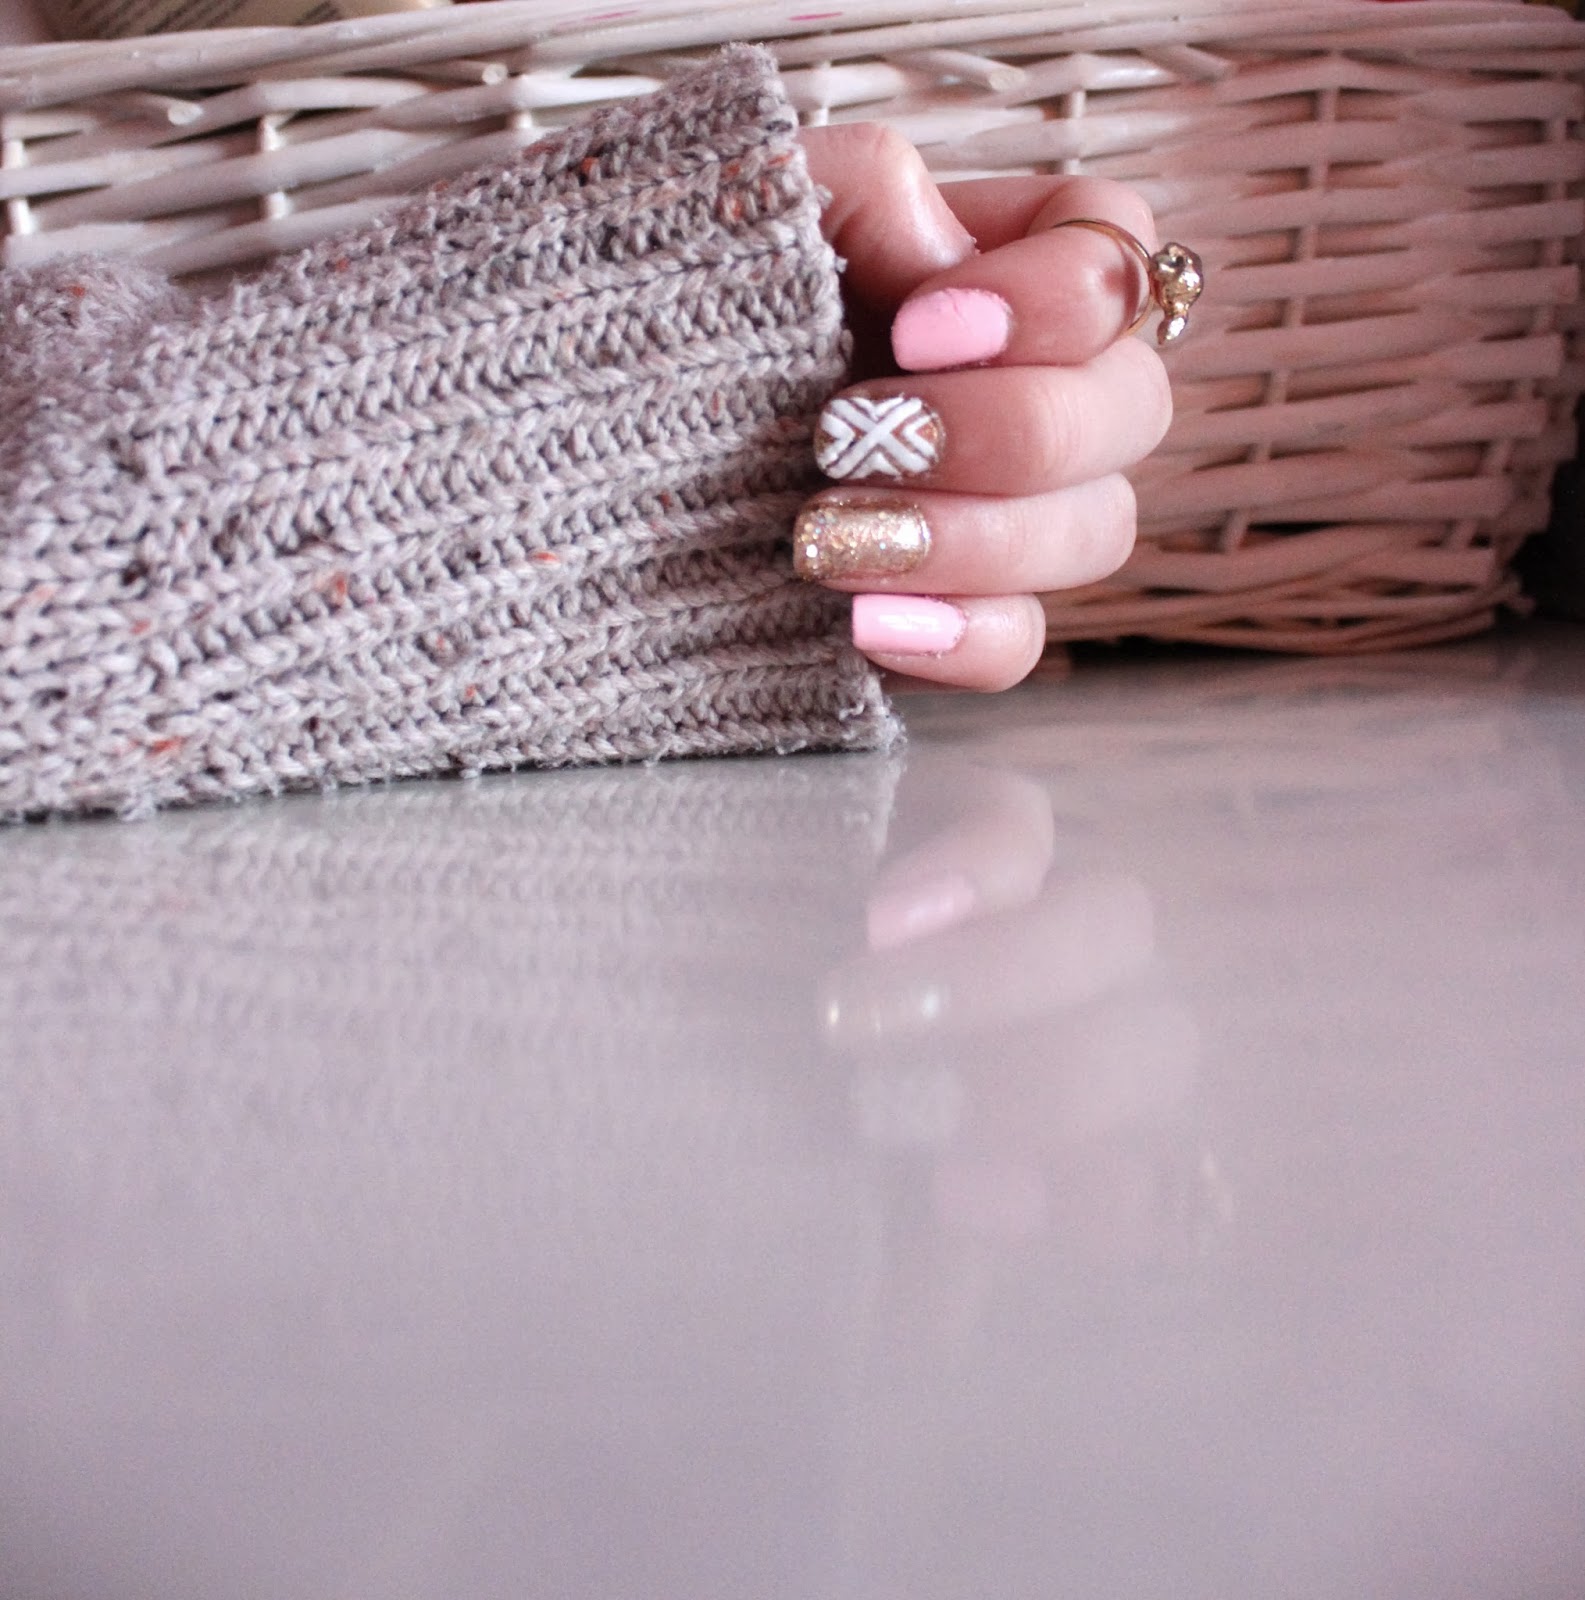
After that you can cover your nails in a top coat and bammmmmmmm. Its done.
So simple.
I hope you enjoyed my little nail design step by step guide and thank you for reading!!

Really good!
ReplyDeletewow amazing tell me more
ReplyDelete